Becoming a Jenkins contributor: Newbie-friendly tickets

Two months ago I published an introductory article on the journey of becoming a Jenkins contributor. In that first article, the jenkins.io site was reviewed, learning about the multiple ways in which we can participate and contribute. Then, a first—basic—contribution I made to the site repository was described.
Now, in this new article we will be exploring more advanced contributions, committing code to the actual Jenkins core.
Getting started with tickets and processes
Beginners guide to contributing and Jenkins Jira
Reviewing the developer section in jenkins.io is probably the best starting point, and a reference link to keep handy. The beginners guide to contributing to Jenkins can also be useful, since it points to different repositories, tools (such as the issue tracker) and governance documents. Besides, it describes best practices for commit messages, code style conventions, PR guidelines, etc.
Once we get a general understanding of the former and want to actually start coding, we may get stuck trying to come up with something to work on.
Visiting the Jenkins issue tracker, feels like the natural next step, since it is full of potential bugs and enhancements that have already been reported by the community. However, it is quite easy to feel overwhelmed by the possibilities listed there. Bear in mind that in a 10+-year-old project like this, most of the things that are reported are tricky for a newcomer to work on. For that reason, filtering by newbie-friendly tickets is probably the best idea.
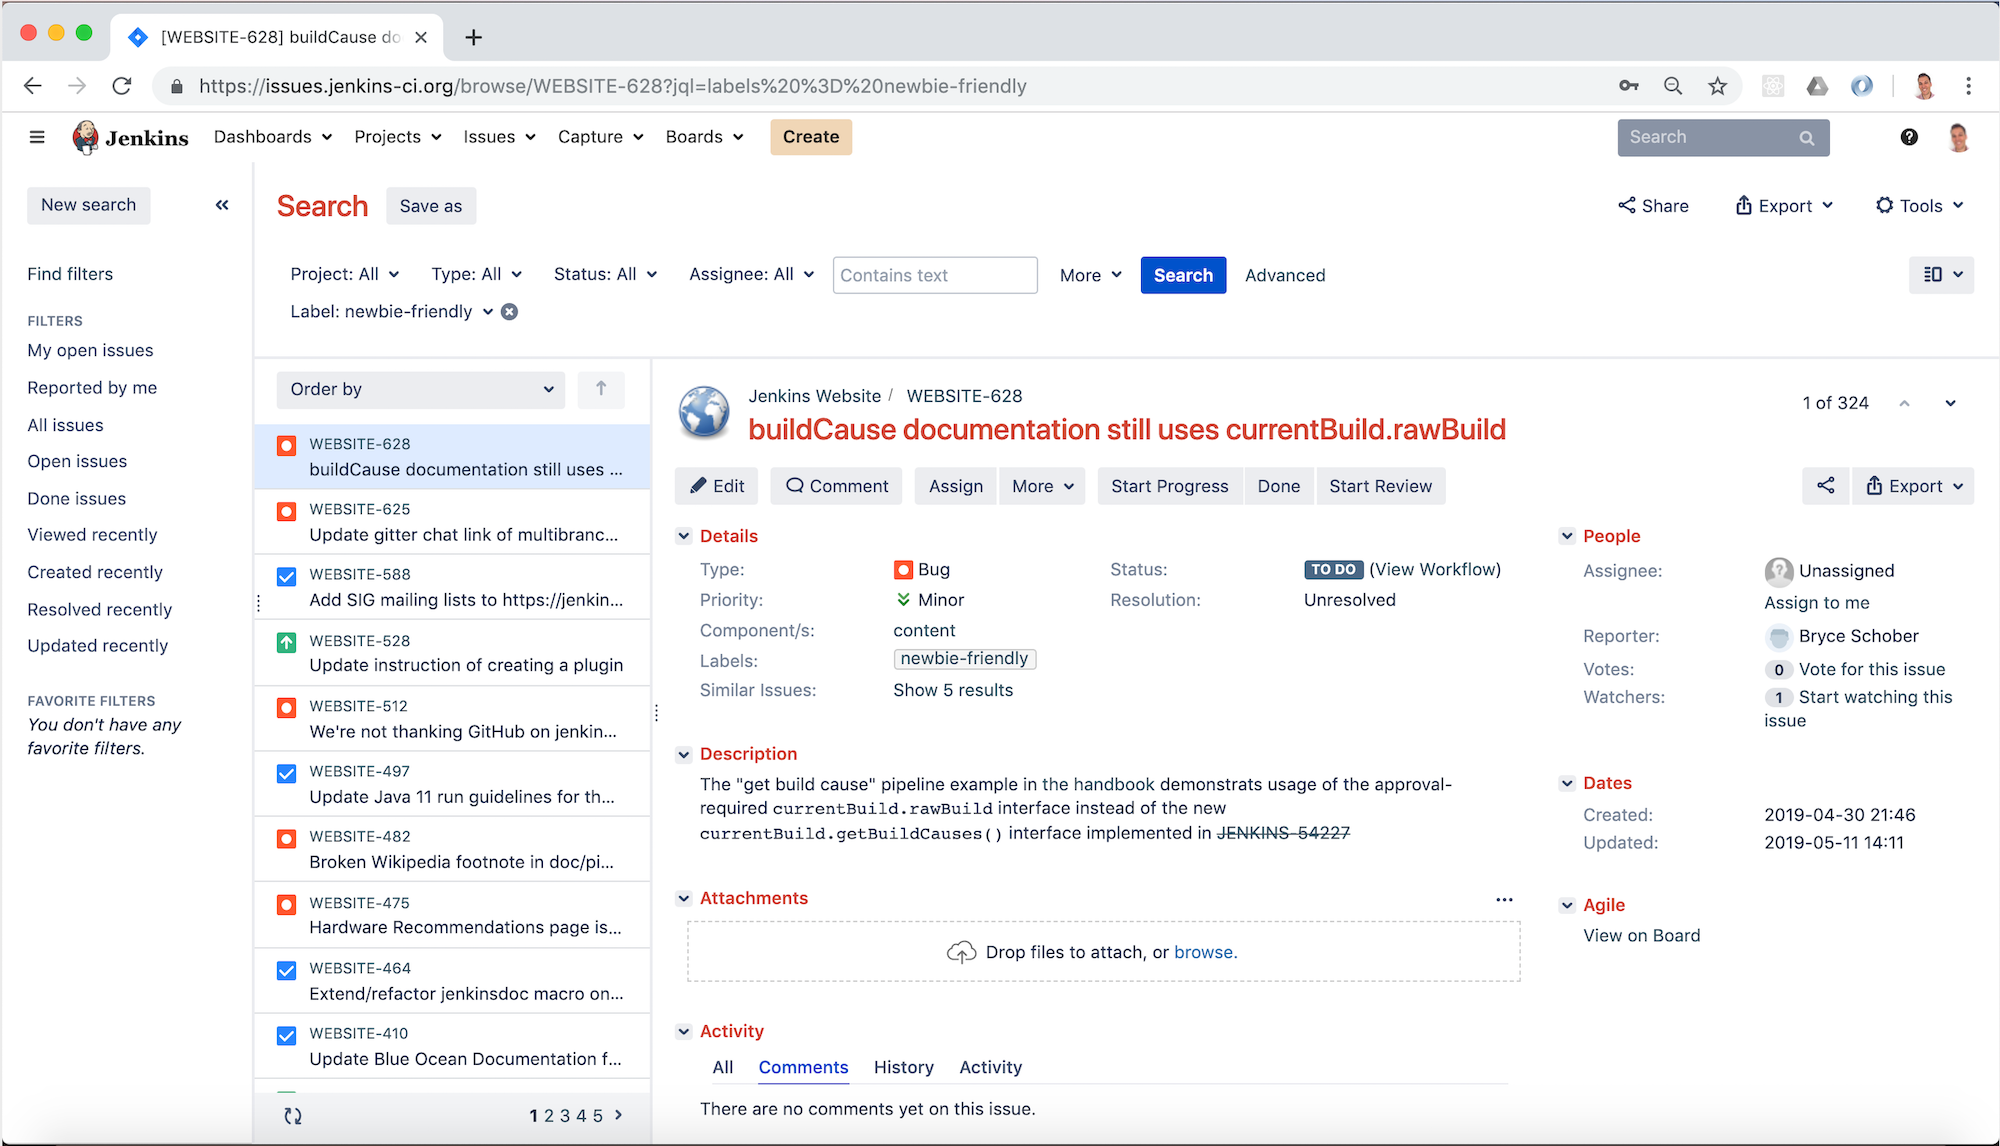
Selecting a ticket
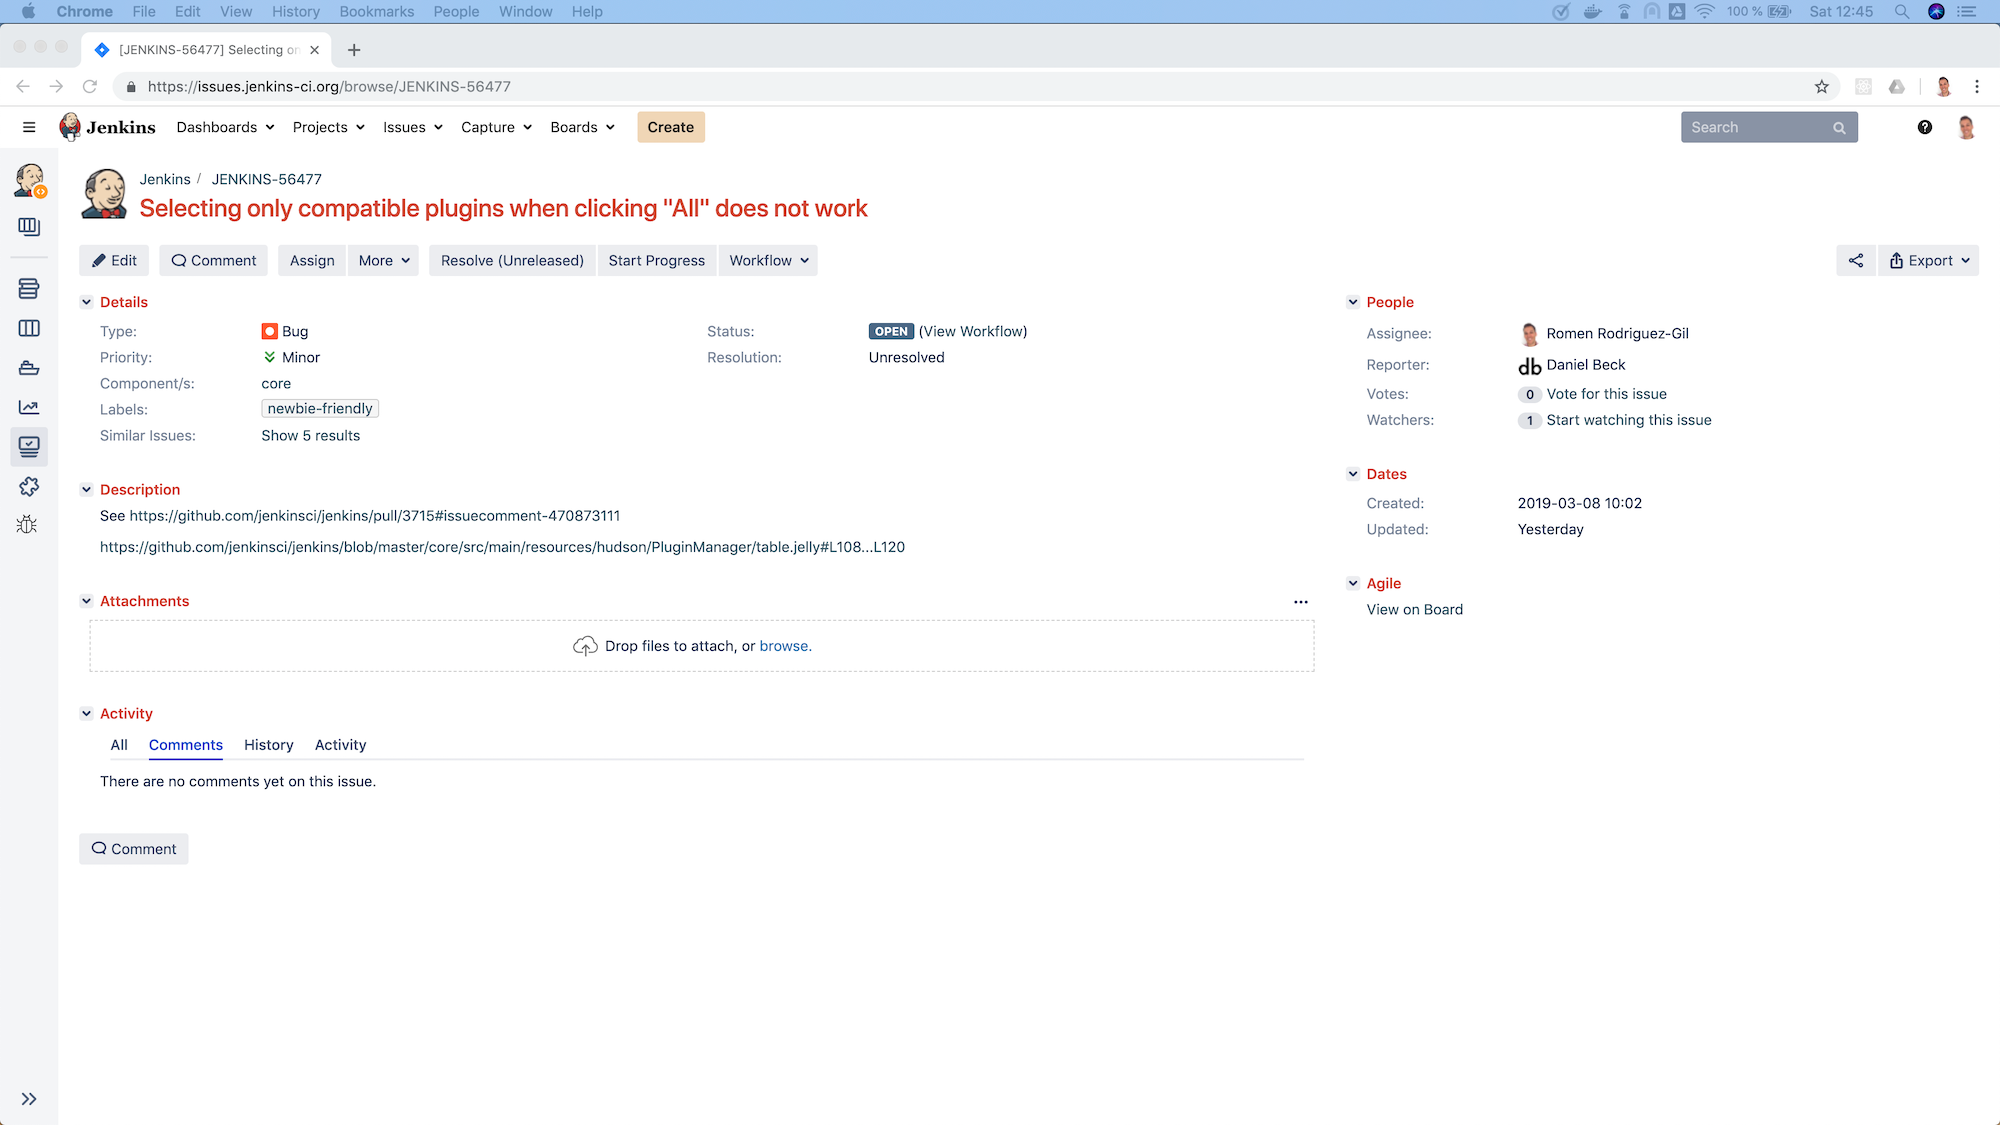
In my case, I spent some time reviewing the newbie-friendly tickets, until I found one
that seemed interesting to me and also looked like something I would be able to fix:
Processes
At this stage, when we have decided to take ownership of a ticket, it’s a good practice to let the rest of the community know that we are planning to start working on it. We can do so easily, by assigning the ticket to ourselves (see the “Assign” button below the ticket summary).
Assigning the ticket to ourselves in the Jenkins Jira will allow any other contributors to know that we are planning to take care of the ticket; and in case they are also interested in contributing to it, they will know who to reach if they want to coordinate work or ask for status. That said, it is worth mentioning that assigning a ticket to yourself does not mean that other contributors cannot work on it from then onwards. Jenkins is an open-source project and anyone is welcome to create their own PRs, so anybody can propose their own solution to the ticket. But as you can guess, if the ticket is assigned to somebody, most people will probably reach the assignee before starting to work on it.
Related to the former, it is also important to bear in mind that we should not postpone work on the ticket for too long once we have assigned the ticket to ourselves. Other potential contributors might be ignoring the ticket because they see yourself assigned to it.
Once we are about to actually start working on the ticket, it is also a good practice to click the “Start Progress” button. This action will change the status to “In progress”, signaling to the community that we are currently working on this particular ticket.
Setting up the necessary stuff on our computer
Configuring, installing and testing
As described in the first article of this journey, the initial step to start contributing to a particular repository is to fork it to our GitHub account, and then clone it to our local computer.
As usual, in the Jenkins core repository the CONTRIBUTING file describes the necessary steps to get the repository working locally. This includes installing the necessary development tools: Java Development Kit (OpenJDK is the recommended choice), Maven and any IDE supporting Maven projects. Note that instructions to install JDK and Maven are linked in the contributing guidelines.
Once we have all the necessary tools installed and configured, we are ready to build Jenkins locally and also to run tests.
Getting down to business
Reviewing ticket details
Now that I was ready to start working on the ticket, I had to review it in more detail, to fully understand the problem.
The description of the ticket I was planning to work on included two links. The first one was to a screenshot that showed the actual bug. It showed how several non-compatible plugins were being selected when clicking “All”, even though the intended behavior was to only select the compatible plugins. The second link was a reference to a code fragment that showed other validations that had to be taken into account when checking if a plugin update was compatible or not with the current installation.
Reproducing the issue locally
Even though I had now understood the issue in better detail, I had not seen it myself live yet, so it seemed to me that the next logical step was to reproduce it locally.
To reproduce the issue locally in our computer, we can either use the local war file that we can generate by
building Jenkins from the source code
or we can download the latest Jenkins version available and run it locally. When I worked
on this ticket, the latest available version was 2.172 and, when I built if from the sources I saw version 2.173-SNAPSHOT,
which was the next version, in which the community was already working on.
In general it is a good idea to reproduce bugs locally, not only to get a better understanding, but also to make sure they are actual issues. It could always be an issue happening only on the reporter’s end (e.g. some user misconfiguration). Or it could be a ticket referencing an old issue that has been fixed already. This latest possibility didn’t sound that strange to me, since the ticket was one month old. It could have been handled by someone else in the meantime, without noticing the ticket existed. Or the contributor might have forgotten to update the ticket in the issue tracker after the fix was committed.
So, for all the reasons above, I ran the latest Jenkins version locally. From a terminal, I went to the
folder in which the war file was placed, and ran java -jar jenkins.war, which starts Jenkins locally on http://localhost:8080.
From the home page I navigated to the Plugin Manager (clicking the “Manage Jenkins” link in the left hand side and then selecting “Manage Plugins” in the list).
In the Manage Plugins page, the list of plugin updates appears. In my case, since I re-used an old JENKINS_HOME
from an older installation, several plugins showed up in the list, requiring updates. That allowed me to test the behavior
that was supposed to be failing.
When I clicked on the “Select all” option at the bottom, this is what I got:
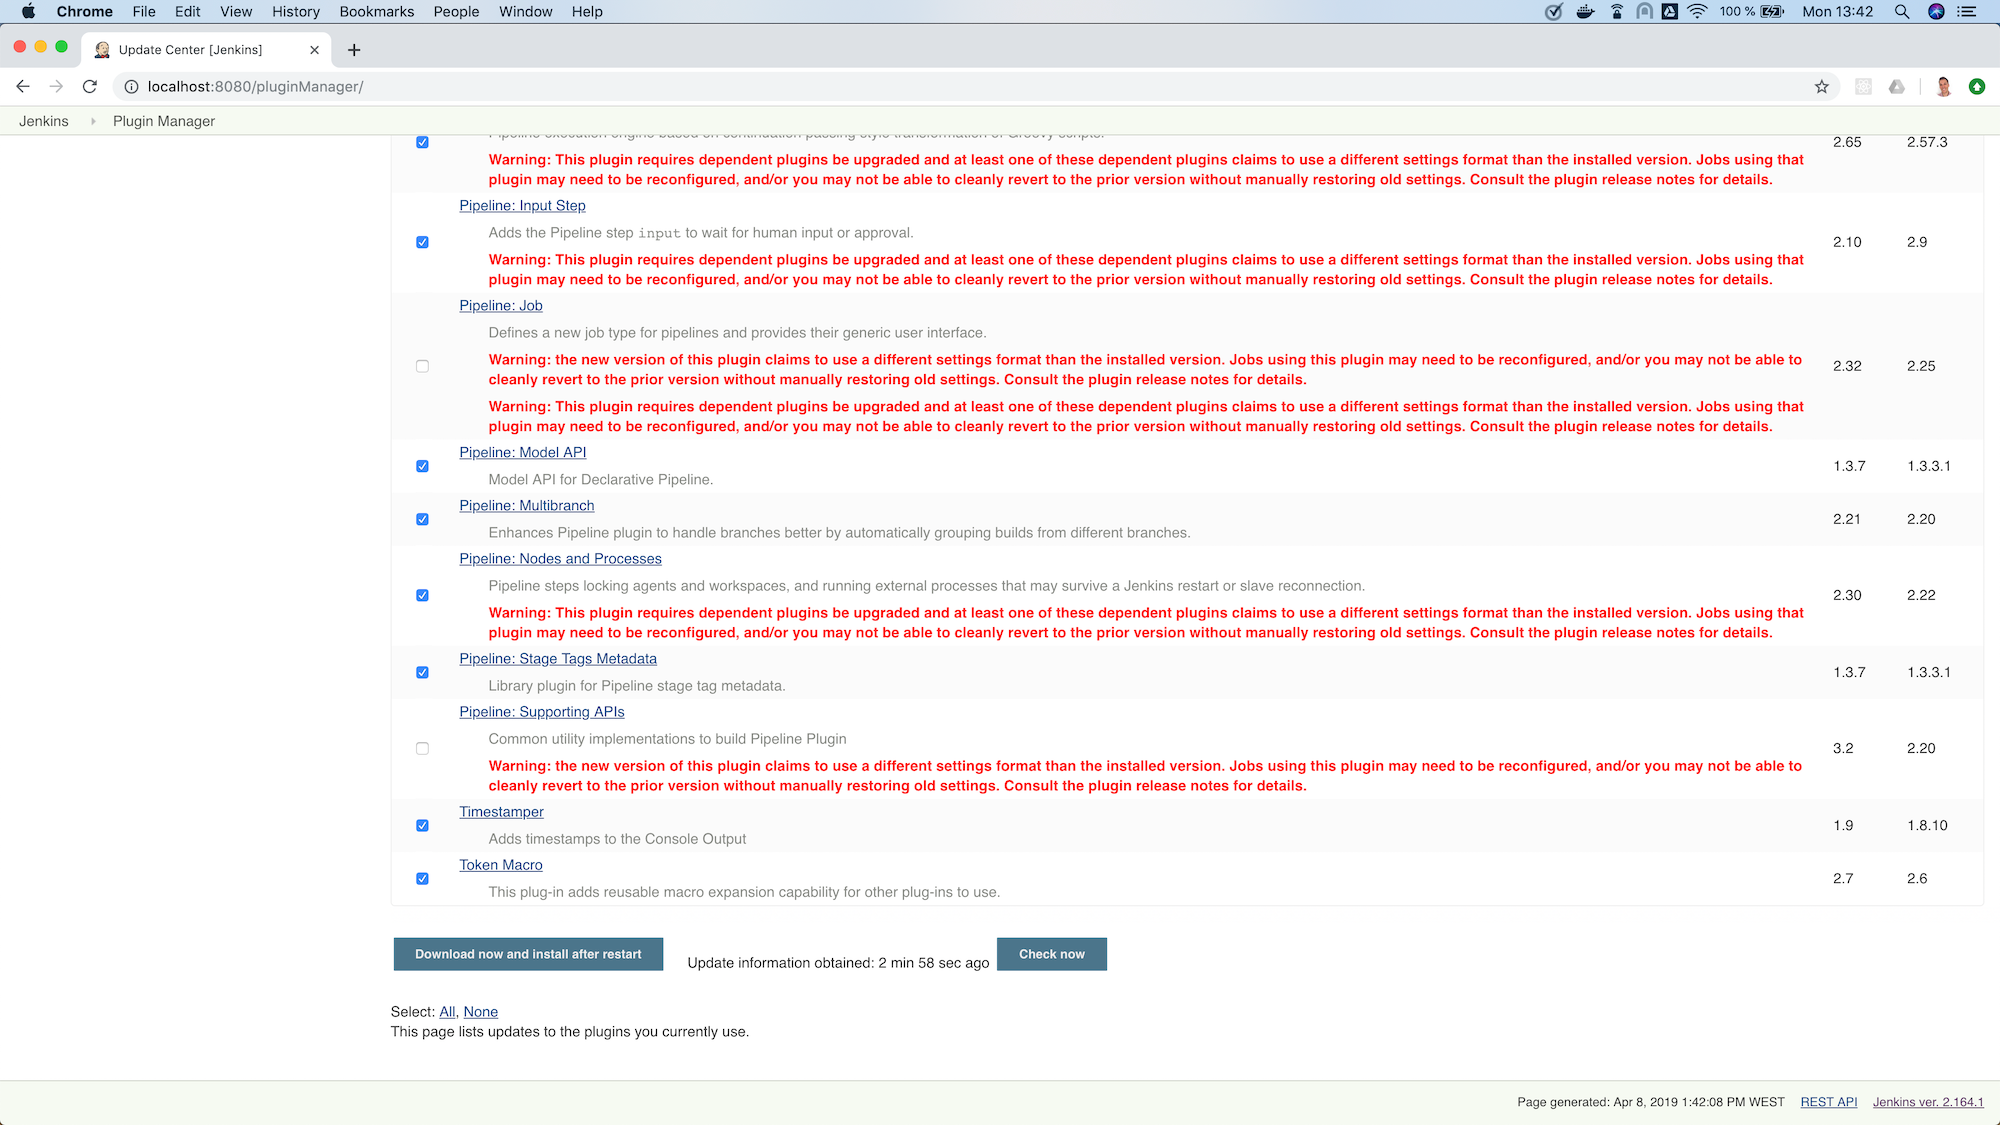
As it had been reported in the ticket, the behavior was inconsistent. In a previous version, the behavior of the “All” selector had been changed (with the best intent), aiming to only check the compatible plugins. However, as can be seen in the screenshot, the behavior was not the expected one. Now, neither “all” nor “only compatible” plugins were being selected, since some plugins with compatibility issues were also being checked, unintentionally.
Figuring out a fix
When reading the conversation in the original PR in which the behavior of the “All” selector had been changed, I saw a suggestion of having a separate “Compatible” selector, thus leaving the “All” selector with the traditional behavior. I liked the idea, so I decided to include it as part of my proposed change.
At this stage, I had a clear picture of the different things I needed to change. These included: 1) The UI, to add a new selector for “Compatible” plugins only, 2) the JS code that applied the changes to the interface when the selectors were clicked and 3) probably the back-end method that was determining if a plugin was compatible or not.
Applying the change
As usual, and as it is also recommended in the contributing guidelines, I created a separate feature branch to work on the ticket.
After reviewing the code, I spent some time figuring out which pieces I needed to change, both in the back-end and also in the front-end. For more details about the changes I had to make, you can take a look at the changes in my PR.
As a basic summary, I learned that the classic Jenkins UI was built using Jelly
and, after understanding its basics, I modified the index.jelly file to include the new selector, assigning the
function that checked the compatible plugins to this new selector, and re-using the existing “toggle” function to set
all checkboxes to true in the case of “All”. I also had to modify the behavior of the checkPluginsWithoutWarnings
JavaScript function, to un-check the incompatible ones, since there was now an actual “All” selector that was not there
previously, and that un-check case was not being taken into account. Then, I created a new back-end Java method
isCompatible, inside the UpdateSite.java class, which now calls all the different methods that check different
compatibilities and returns the combined boolean result. For this change, I included an automated test to verify the
correct behavior of the method, contributing to the test coverage of the project. Finally, I modified the table.jelly
file to call the new back-end method from the UI, replacing the existing one that was not taking all cases into account.
As you can see, the change involved touching different technologies, but even if you face a similar situation in which you are not familiar with some of them, my advice would be carry on, don’t let that stop you. As software engineers, we should focus on our evergreen skills, rather than on knowing specific technologies; adapting to whatever framework we have to use at a given moment, learning whatever we need about the new technology to complete the task and applying cross-framework principles and best practices to provide a quality solution.

Publishing the change
Submitting a Pull Request
In the contributing guidelines of the Jenkins core repository there is also a section about proposing changes, which describes the necessary steps that have to be followed in order to create a Pull Request (PR) with our change.
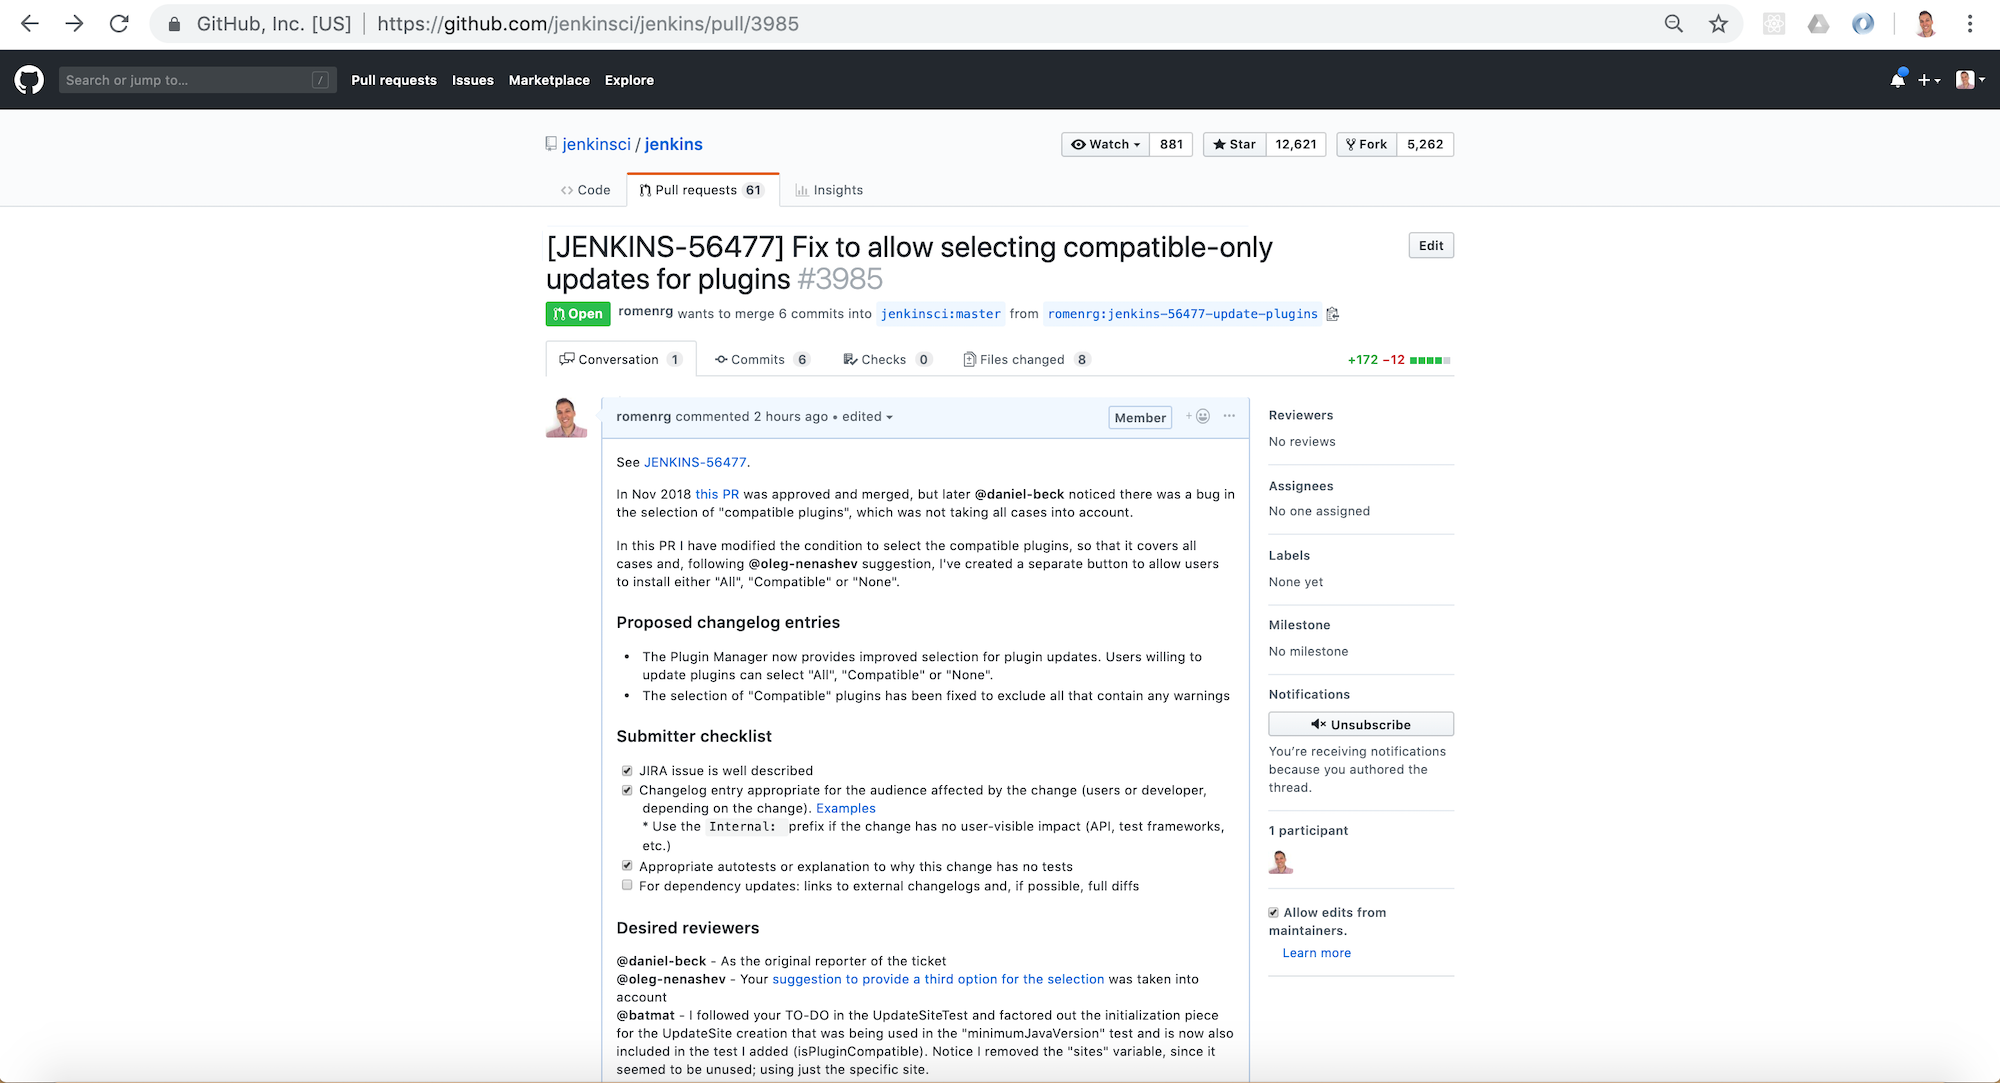
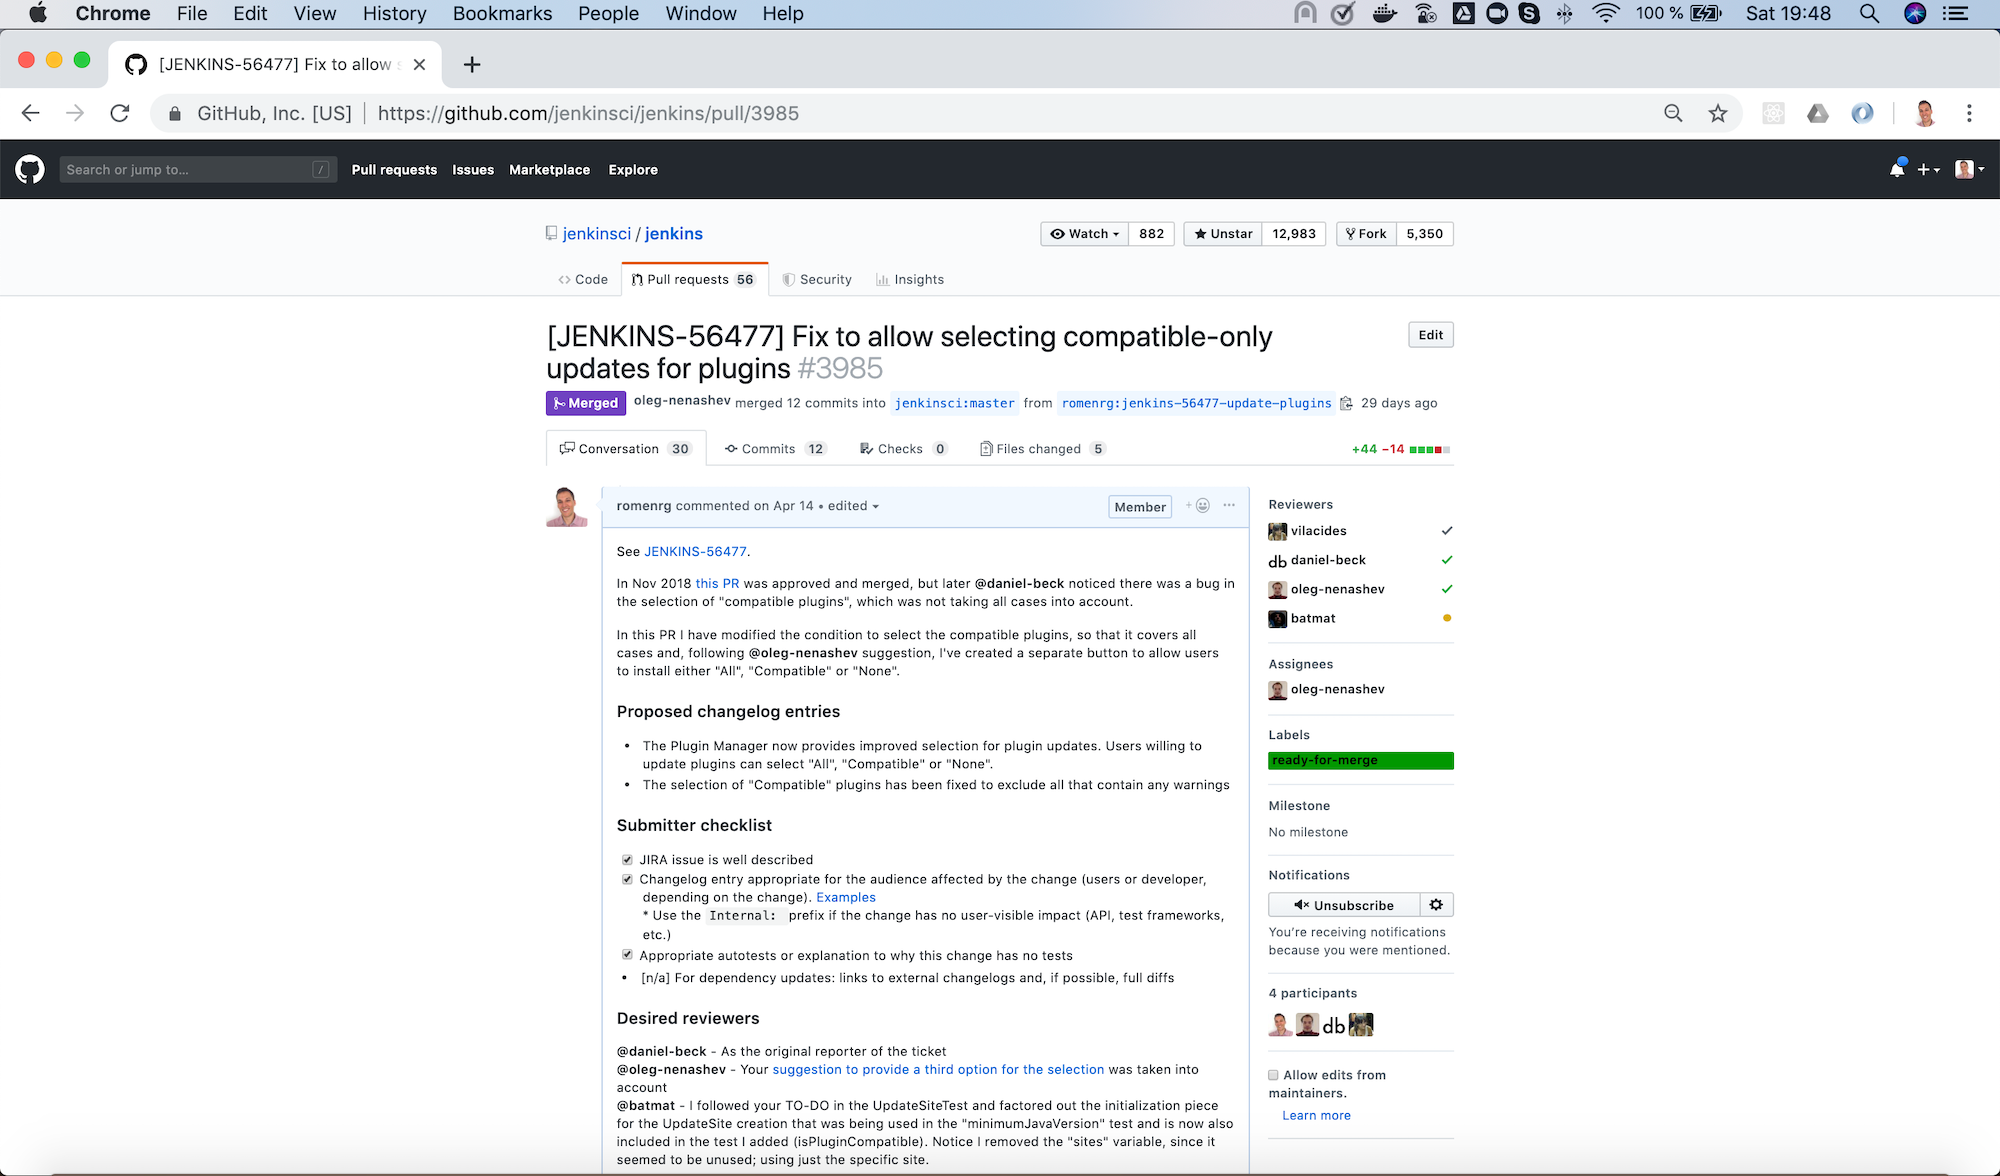
Furthermore, there is a PR template in the repository, which will be loaded automatically when creating a new PR and that will serve as a basis for us to provide the necessary information for the reviewers. We are expected to: include a link to the ticket, list the proposed changelog entries describing our changes, complete the submitter checklist and add mentions to the desired reviewers (if any).
In my case, I followed the template when creating my PR, completing all sections. I linked the Jira ticket, provided two proposed changelog entries, completed the submitter checklist and added three desired reviewers (explaining why I thought their reviews would be valuable). I also linked the original PR that was referenced in the ticket, to provide further context.
The approve and merge process
As stated in the contributing guidelines, typically two approvals are needed for the PR to be merged; and it can take
from a few days to a couple of weeks to get them. Sometimes, one approval from a reviewer and a 1-week delay without
extra reviews is considered enough to set the PR as ready-for-merge. However, both the time-to-merge and the number
of approvals necessary might vary, depending on the complexity of the change or the area of Jenkins core that it affects.
After the necessary approvals have been received, a Jenkins core maintainer will set the PR as ready-for-merge, which
will lead to it being merged into the master branch when one of the following releases are being prepared.
In my case, I received a review by Daniel (the reporter of the ticket and one of my “desired reviewers”) the very day I
submitted the PR (April 14th). He made several very useful suggestions, which led to changes from my side. After those
changes, Daniel made minor remarks and my PR got another review, which was its first approval. After a week had passed
without further news, I added the remaining minor suggestions from Daniel and a few days later received another approval,
to which Daniel’s final approval was added, leading the PR to be labeled ready-for-merge, being later merged the same
day (April 26th).
Release
For every new release, repository maintainers will select a set of PRs that have already been labeled ready-for-merge,
merge them to master, prepare changelogs (often using the suggestions included in the PRs by the authors) and proceed with
the creation of the new release. There is no additional action required from Pull Request authors at this point.
Every week a new version of Jenkins is released, so when your PR is merged, your changes will—most likely—become part of the following weekly release of Jenkins.
Eventually, your changes will also reach the Long-term support (LTS) release, which is a different release line, aimed for more conservative users. This release line gets synced with the weekly release by picking, every 12 weeks, a relatively recent weekly release as baseline for the new LTS release. In between, intermediate LTS releases are created only to include important bug fixes, cherry-picked from the weekly releases. New features are typically delayed until the next baseline for the LTS release is defined.
Regarding the example described in this post, it was released in Jenkins 2.175 (weekly release), soon after being
merged. And will probably be included in the next LTS, which should be released next month (June 2019).
Done!
And that’s it! We have now covered the whole lifecycle of a new proposed change to Jenkins core. We have reviewed the process from the very beginning, picking a ticket from the Jenkins issue tracker; all the way to the end, having our change released in a new Jenkins version.
If you have never contributed but are willing to do so, I hope this article motivates you to go back to the list of
newbie-friendly tickets, find one that looks interesting to you, and follow the steps described above, until you see
your own change released in a new Jenkins version.
Remember, don’t try to solve a complicated issue as your first ticket, there are plenty of easier ways in which you can contribute, and every little helps!
About the author